


So what went into this transformation?
As you can see, I used a TON of spackle and wood filler to repair these stairs. Call us naive, but we weren't expecting them to be in as bad shape as they were. That's what you get for living in a one hundred year old building I guess. I used wood filler in areas that actually needed to maintain structural integrity (ie. some of the steps themselves were split a bit) and the spackle was for the aesthetic issues only (ie. where some of the risers had been kicked repeatedly over the years).

Also there was plenty of caulking to fill cracks and spaces that we didn't quite notice until the paint went up. It's amazing what a big difference a little caulk can make.


As you can see, we go gloveless and tool-less when it comes to caulking and it seems to work well for us every time.
After the caulking, it took several coats of primer and white paint, but it finally started slightly resembling what we wanted it to look like. And once the black paint went on, the look really started coming together.
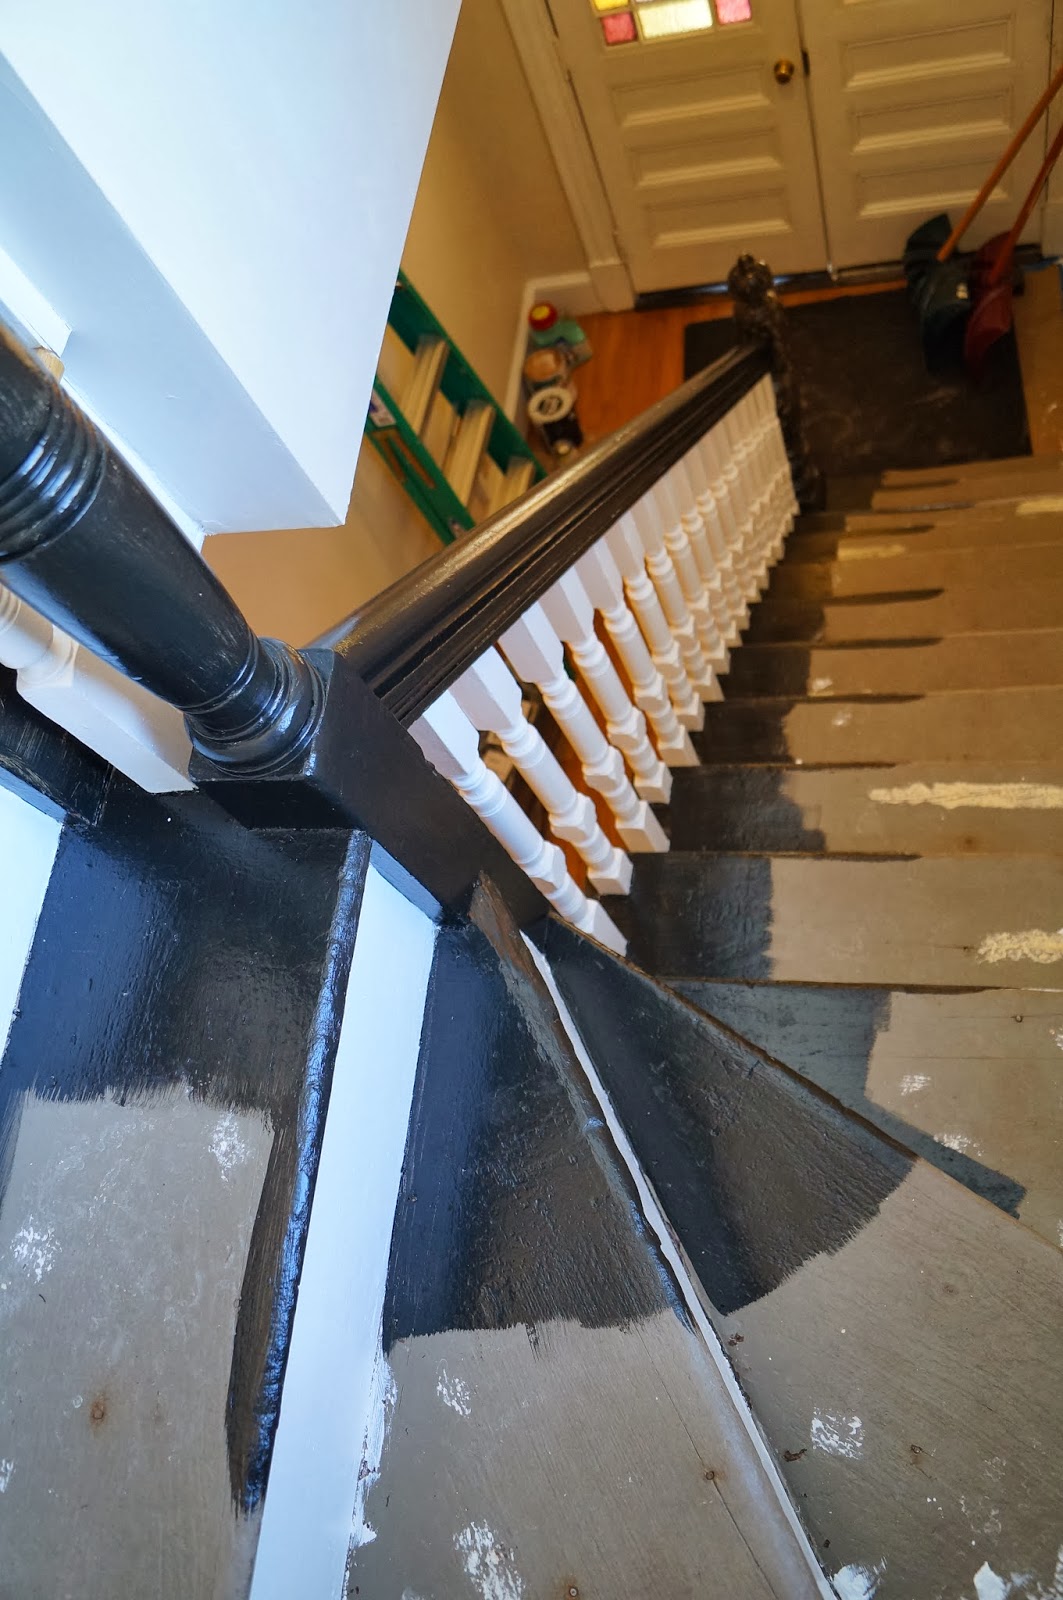


I know it doesn't look like much now, but it's a huge improvement from where we started. And now you've been let in on the little secret that we didn't paint the whole stair black, just the visible portions. I'm not about wasting paint on something that will never be seen. Next up, a carpet laying tutorial and the big reveal!

Wow! This is going to look amazing when it's all done! That staircase is BEAUTIFUL!
ReplyDelete