

{source}
{source}
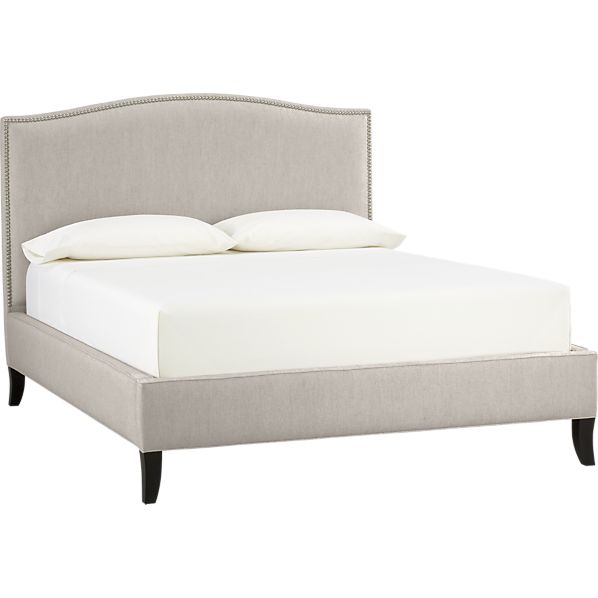
As I mentioned yesterday, I don't have any real construction pictures because this project was completed before I started blogging. But trust me when I say that both tutorials above are more than enough to get you through this project if you want to do it on your own.
 {Getting the nailhead trim straight is a tedious process. I definitely recommend two people. One to nail in and the other to direct.}
 {But from further away, it's harder to tell if there are any imperfections}
 {This picture shows that we mounted the headboard to the wall rather than building legs for it. See how its sort of "floating"?}
 Tomorrow I will be sharing pictures of the master as it looks today. I can't say it's done because is decorating ever really done? Some of the accessorizing could use some tweaking, but it will give you an idea of where we are in the process. It's so different from where we started. Below is the master bedroom photo from the listing of our condo.

Stay tuned!

No comments:
Post a Comment